Water Garden-How To Build A Backyard Water Garden
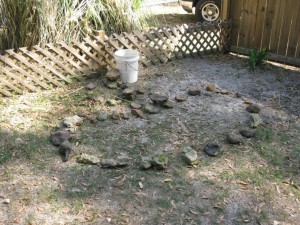
After deciding on the location for my water garden, I layed out the basic size and design using rocks. As in the picture to the right, you can see the shape I decided on. The bucket is demonstrating the waterfall tank.
Digging Your Water Garden
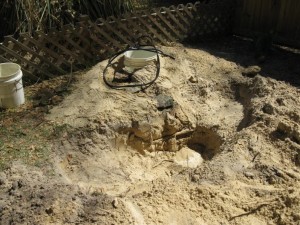
Now comes the fun part, digging! Be sure to keep your pond’s shore lines level. I decided to leave some areas shallow. The area right under the water fall is the deepest. Your fish will appreciate different depth areas. As I removed the soil, I place it around the waterfall tank building a mound around it.
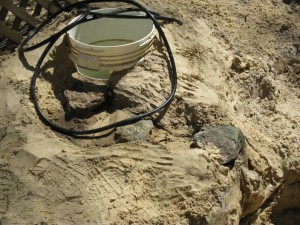
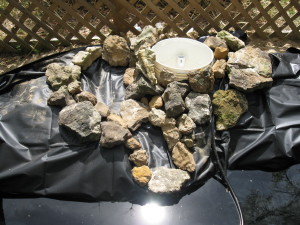
Here you can see a close up of the waterfall tank. Notice how I cut out an opening in the side of the tank. This is the outlet for the waterfall. I also made a small pond area in front of the waterfall tank opening. This is just to make a more natural effect to the water garden.
At this stage, I have completed digging and I lined the the whole pond with newspaper. I did this to provide a smoother surface and to prevent any small roots or rocks from puncturing the liner. As you lay the newspaper take a water hose with spray nossel and keep the newspaper sprayed down.
The Water Garden Filled With Water
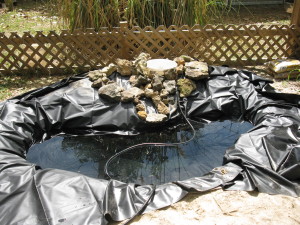
Here I have placed the liner and added water to assist in holding it in place. At this point I have also started constructing the waterfall.
Here you can see a close up of the waterfall. Notice that I have the liner placed in the waterfall stream.
Here the pond is filled with water and I have started laying rocks around the edges and around the waterfall. The rocks are held in place using concrete.
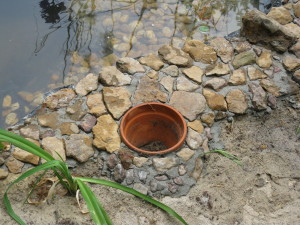
This is a close up of the pond shoreline. As you can see, I decided to include built in planters.
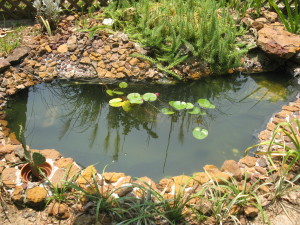
This is my completed pond and happy home of my fish.
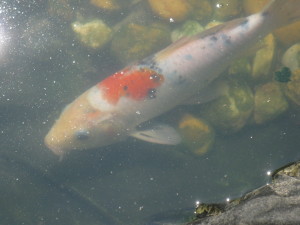
This is my Koi. He lives in the pond with four Goldfish and numerous frogs.
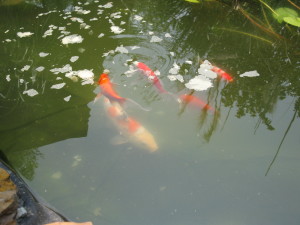
This is my fish at feeding time. They are soooo cool!
Here’s another view of my fish pond. I hope this helps you in your quest of how to build a backyard water garden.

